Similar to the Pokemon Yellow recently, I had a GBA Emerald Green sent in for repair.
Just 24 hours ago, this was going to be a post on how I had failed to repair it, but in a last minute ditch, I managed to save it.
Loading up the game resulted in nothing, and opening the shell explained why. There was a lot of corrosion around the PCB, but more importantly, two of the legs on the ROM had completely dissolved:
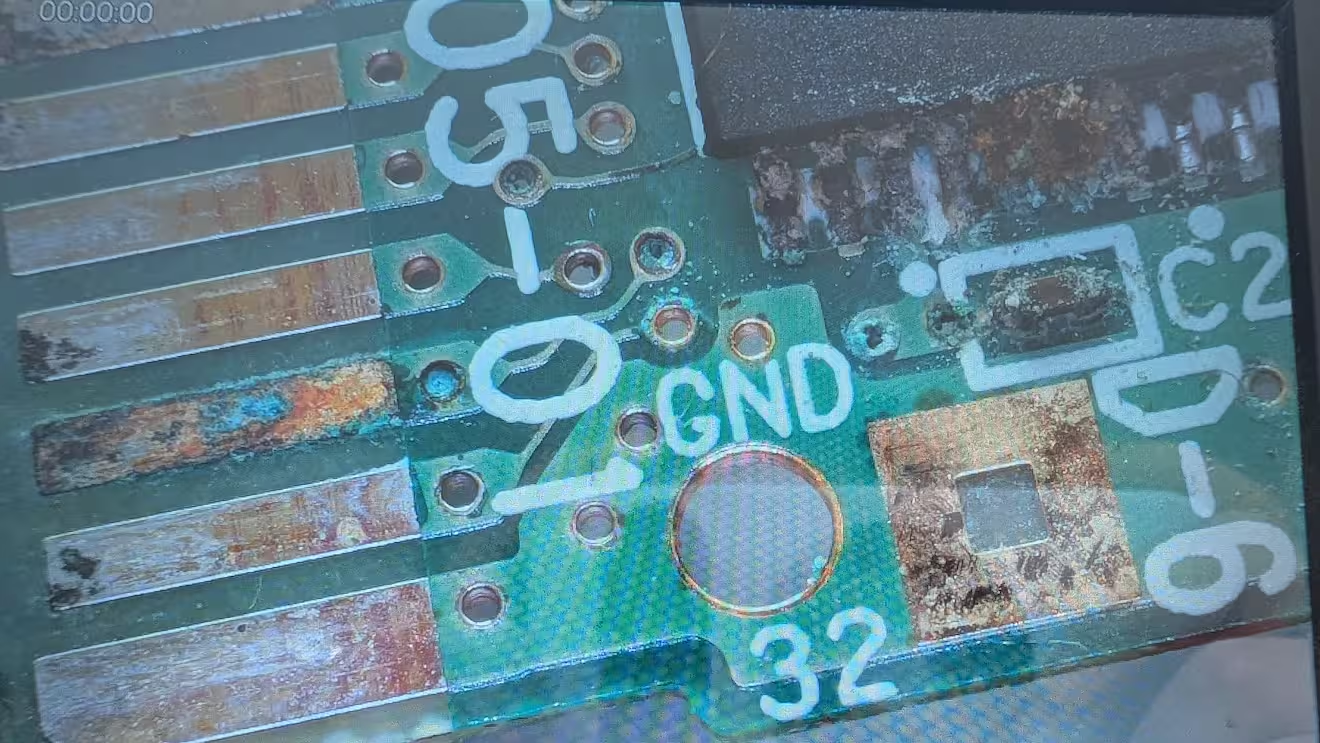
The first task is to remove the main chips (the ROM and the RAM) and examine and then clean up the damage under the chips. The black around the vias (the holes) aren't a great sign either.
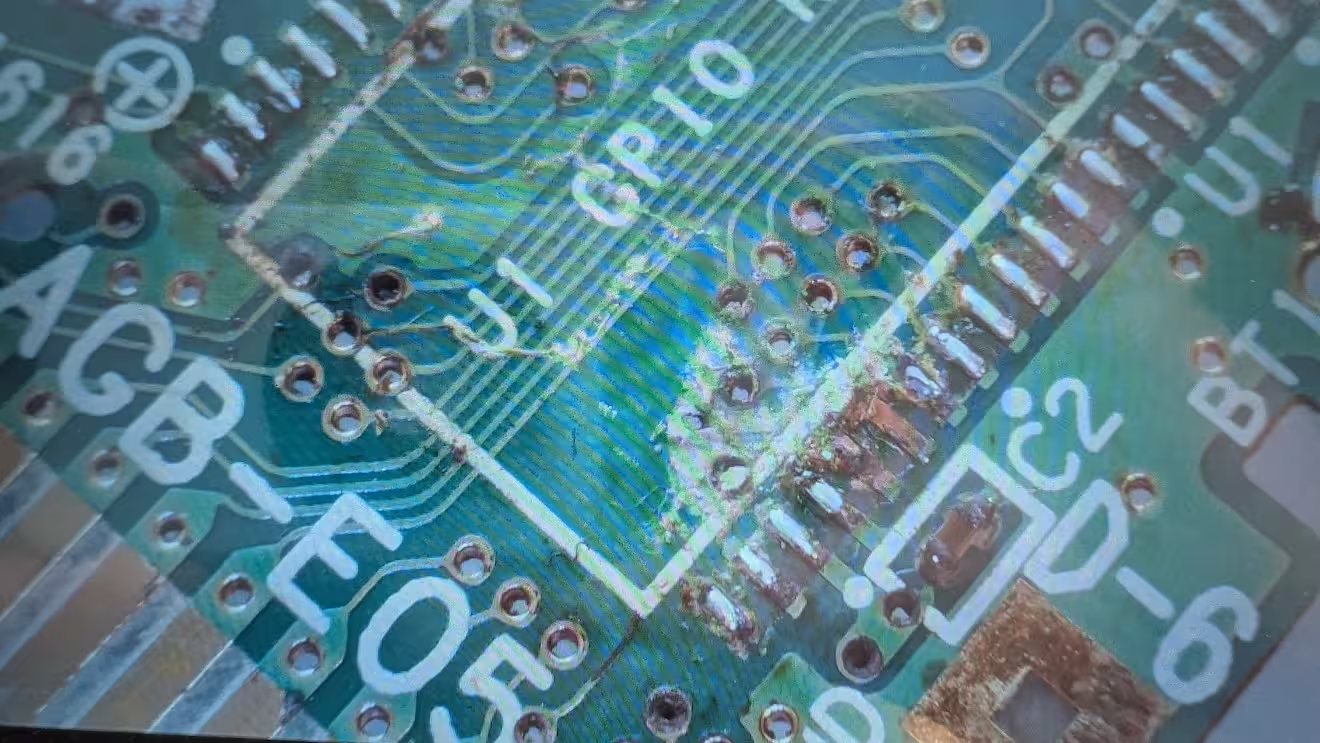
Whilst the chips are off, this is a good time to (try to) check the traces for continuity throughout the board.
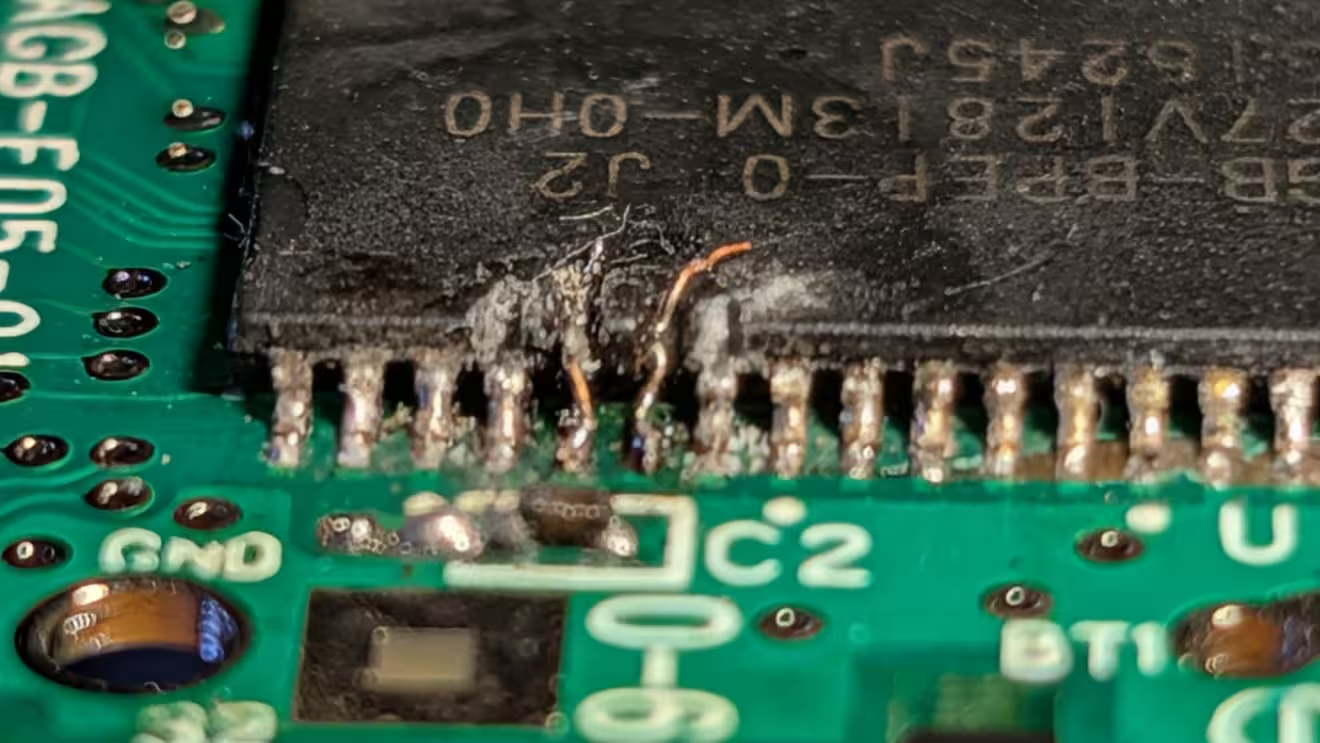
Once the chips were replaced, I then have to repair the lost legs. To do this, I use a small Dremel-like hand tool that can burr into the epoxy (the black part of the chip that you would handle) until I'm able to expose the internal part of the leg before it was lost.
From there, very carefully, I'm soldering a 30 AWG (hair-thin at 0.1mm) to the inside of the chip to the pad it originally connected to.
Then using the same 30 AWG jumper wire, I proceeded to jump all the locations that I knew the trace was bad. It ended up a bit of a spaghetti board:
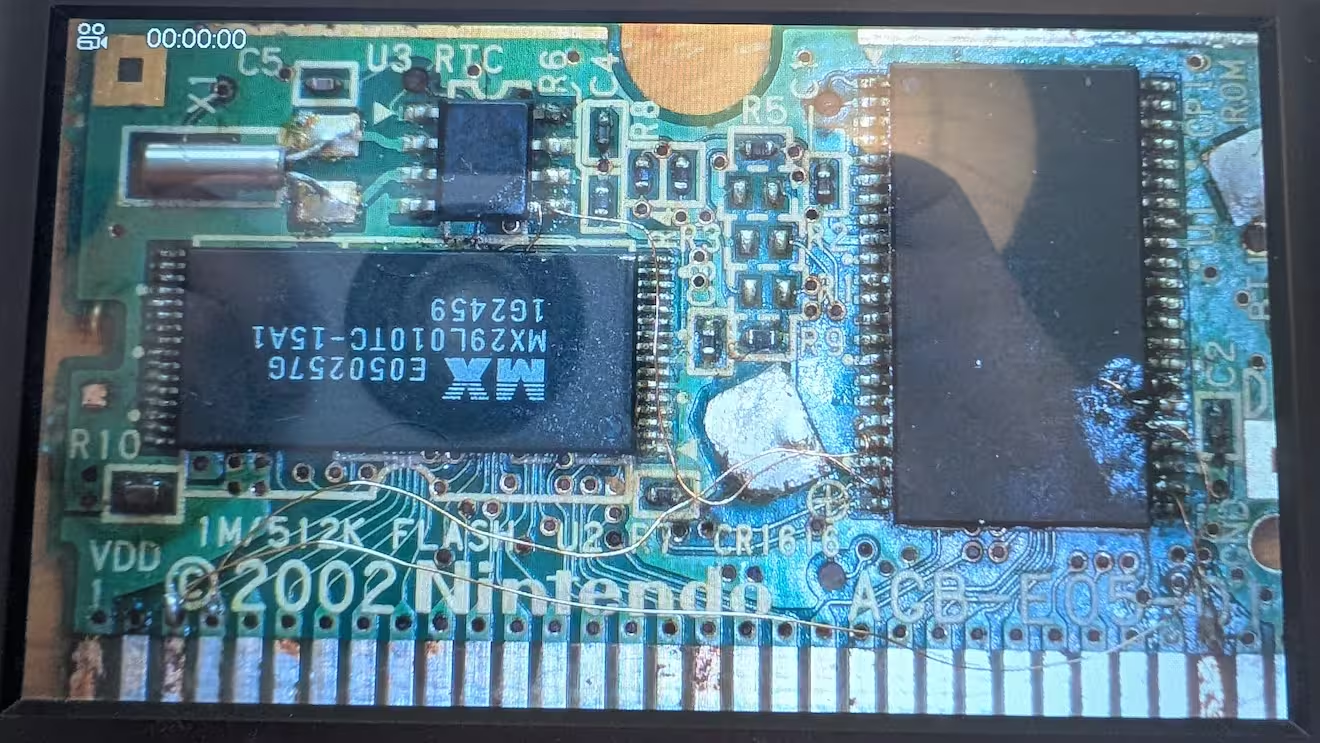
At this point, it was time to test.
And…it wouldn't boot. I debugged a lot more, but decided the PCB itself had suffered too much damage, and managed to order a new bare PCB for £6.50 - which came reasonably quickly.
I then proceeded to move all the components across from the old PCB to the new. The larger components are pretty straightforward, but the passives, such as the resistors and capacitors are harder, especially without a template.
I also decided to use my own new passives for the resistors, and at the time I didn't have any new capacitors, so I carried these across assuming, since I had always considered them to be pretty robust (spoiler: they aren't).
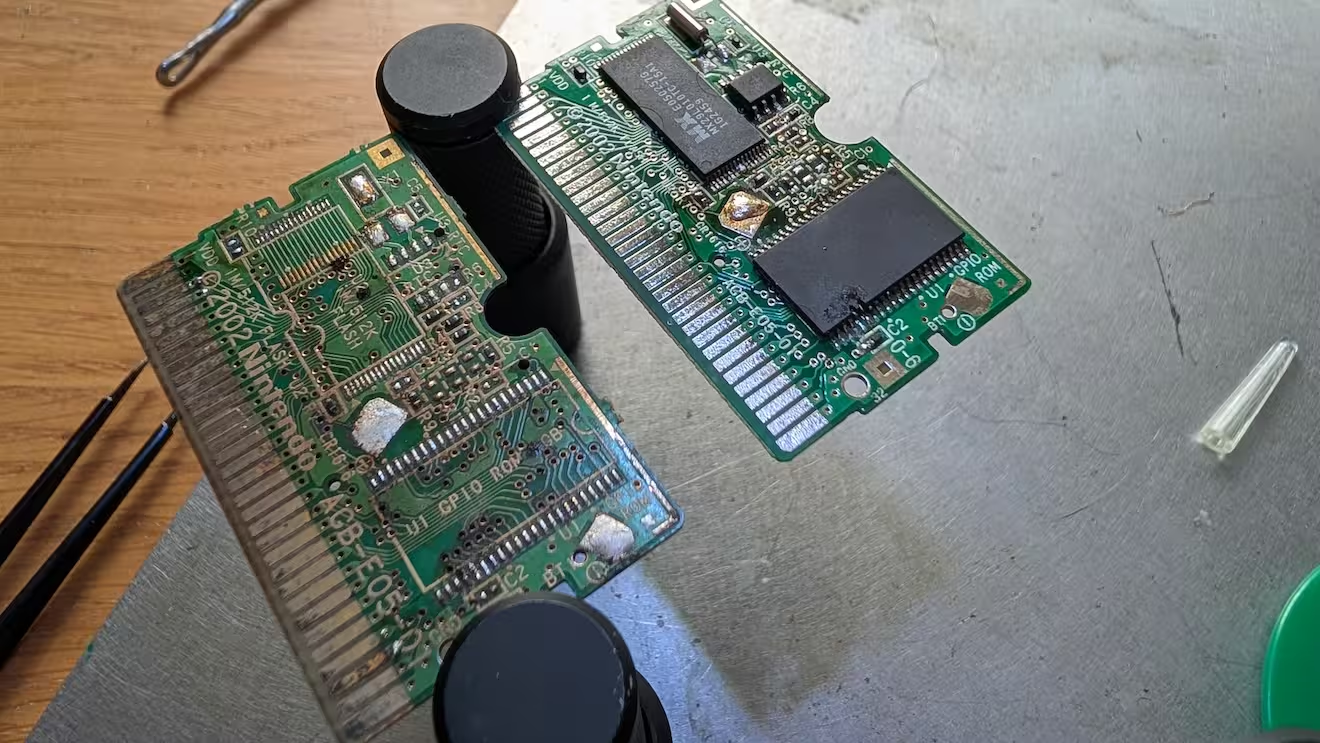
When I was finally done soldering down all the individual components and checking and re-checking the pads on the chips, I finally tried to boot it up to… another fail.
I was going to email the customer and tell them it was a dead end, when I decided I might splash out on Amazon (booo) for some 0402 SMD capacitors - at least I'd have some more for future.
As it turned out, this was the last of the issues. The caps had somehow gone bad on the original board and replacing them brought the whole cart back to life!
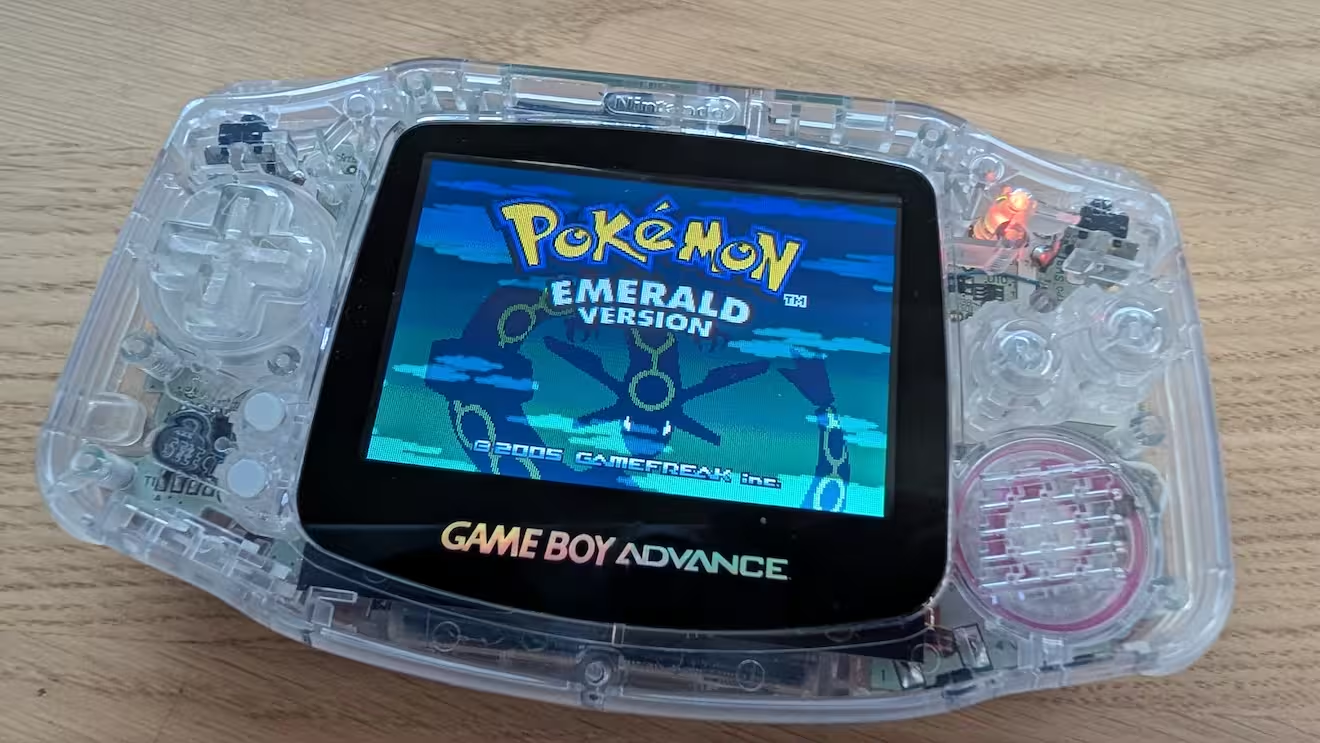
Another one saved. Quite a challenge, and I know if I were a real electronics shop I would have cut the losses much earlier. But I'm not a real shop, this is a distraction hobby and this one was certainly a challenge!