Often I'll want to share a screenshot and over the years I've used a number of different tools, but I'm always beholden to when they eventually become unsupported or the company "pivots" and the pricing model goes silly. So after all this time, I finally worked out how to roll my own.
Forewarning though, this is MacOS specific, but I'm sure same thinking can be applied to other operating systems.

MY EBOOK£5 for Working the Command Line
Gain command-line shortcuts and processing techniques, install new tools and diagnose problems, and fully customize your terminal for a better, more powerful workflow.
£5 to own it today
The spec
I want to be able to take a screenshot and then, without any interaction, have a sharable URL in my clipboard.
The steps to achieve this (on my mac) are:
- When a new file appears in my screenshot folder, perform an action
- Read the latest file in the folder and upload to a hosting service
- Copy the URL of that image to my clipboard
There's a couple of bonus features that I can add to this:
- Compress the image first then upload it
- Play some kind of notification so I know the upload is complete
- Only apply this action to new screenshots - not a file I might have renamed
This lose outline gives me the power to use my own screenshot software, whether it be a plain native screenshot, or shottr (which I really like for quick annotations before getting dropped into my screenshot folder). If (or when) shottr stops working, my process can still work.
I'm also free to decide how I host the images. For the time being, this is via AWS S3.
Finally, I want a fancy url for the images, so I'll lean on Netlify for this.
The implementation
I've tried to break this down into readable blocks, but this isn't intended as a copy and paste solution (though you probably could copy all the blocks).
1. When a new file appears
I originally tried to achieve this using MacOS's Automator app but frankly I've no idea how it works, where configuration files live or anything.
However, a simpler solution (to me!) is a WatchPath service to monitor a directory for MacOS. This means when the directory contents changes, it will let me run a terminal command.
The command I run will then do all the heavy lifting to work out what's changed and what to do:
I created ~/Library/LaunchAgents/upload_screenshot.plist and registered it with:
$ launchctl load ~/Library/LaunchAgents/upload_screenshot.plist
The upload_screenshot.plist file contains the following XML (note that ~/Desktop/Screenshots is where my screenshots land):
<?xml version="1.0" encoding="UTF-8"?>
<!DOCTYPE plist PUBLIC -//Apple Computer//DTD PLIST 1.0//EN
http://www.apple.com/DTDs/PropertyList-1.0.dtd>
<plist version="1.0">
<dict>
  <key>Label</key>
  <string>Upload Screenshot</string>
  <key>ProgramArguments</key>
  <array>
    <string>~/bin/upload_screenshot</string>
  </array>
  <key>WatchPaths</key>
  <array>
    <string>~/Desktop/Screenshots</string>
  </array>
</dict>
</plist>
2. Doing a thing with that screenshot
What this script does is:
- if the file hasn't been processed already, then –
- copy the predicted url to the clipboard
- compress the file (adding
-min.pngto the end) - remove the old image
- upload the file
- play a notification sound
The file lives in ~/bin/upload_screenshot (~ being short hand for my $HOME directory), and it has execute properties, i.e. chmod +x ~/bin/upload_screenshot.
There's also a few external programs being used:
pbcopya macos command to copy a string to the clipboardafplayanother macos native command, plays audio - theBlow.aiffwas just a sound I found in the operating systempingquanta third party png compressor - it helped upload speeds to compress the image (and of course, bandwidth, costs, etc)awsthe command line tool to actually run the upload to AWS using a profile I created calledscreenshot
Below is the script itself:
DIR=/Users/remy/Desktop/Screenshots

# get the latest file
FILE=$(ls -rAt $DIR | tail -n 1)

# if it's a junk file, or it's already processed, exit early
if [[ "$FILE" == .DS_Store ]]; then exit; fi
if [[ "$FILE" == *-min.png ]]; then exit; fi

# copy the URL to the clipboard as early as possible
echo https://remysharp.com/shot/$(basename $FILE .png)-min.png | pbcopy

# compress the original and output as $FILE-min.png
/Users/remy/bin/pngquant $DIR/$FILE --ext -min.png

# remove the original
rm $DIR/$FILE

# upload to AWS under my "screenshot" profile
AWS_PROFILE=screenshot /usr/local/bin/aws s3 cp $DIR/$(basename $FILE .png)-min.png s3://screenshots.remysharp.com

# play tone so I know it's ready
afplay /System/Library/Sounds/Blow.aiff
3. AWS policy
AWS policies always bite me, so I've included it in this write up. I created a bucket called screenshots.remysharp.com which the policy below can write to. The policy was created against a new user called screenshot.
Note that I also configured the AWS bucket to be public so that when I shared a URL the image could be actually read.
 {
  "Version": "2012-10-17",
  "Id": "Policy1397632521960",
  "Statement": [
    {
      "Sid": "Stmt1397633323327",
      "Effect": "Allow",
      "Principal": {
        "AWS": "*"
      },
      "Action": "s3:GetObject",
      "Resource": "arn:aws:s3:::screenshots.remysharp.com/*"
    }
  ]
}
4. Fancy URLs
Finally, when the images are uploaded, you might have noticed that I didn't copy the AWS URL (because they're ugly), but a "nice" URL under my own domain.
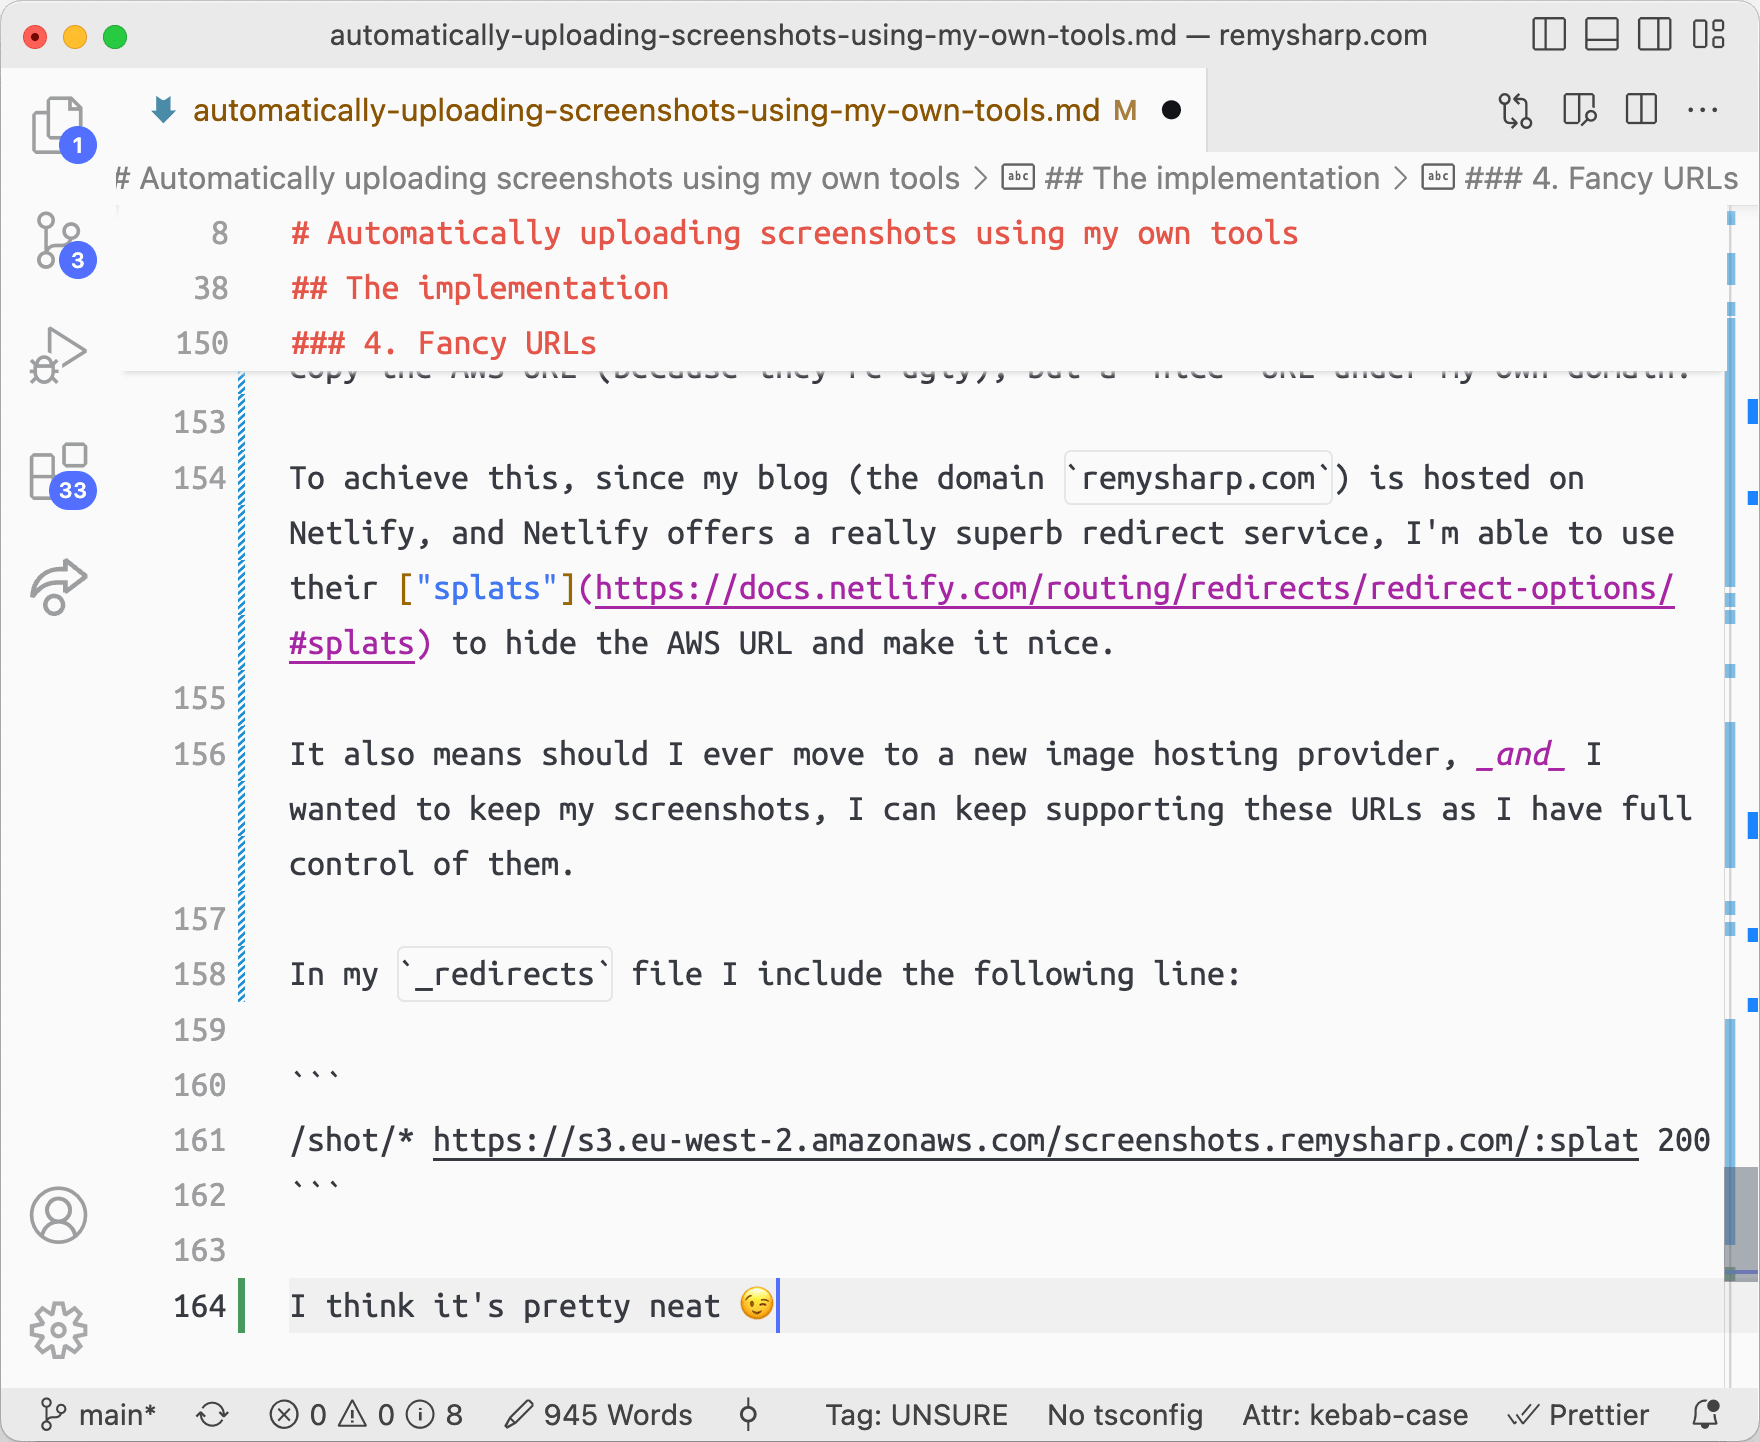
To achieve this, since my blog (the domain remysharp.com) is hosted on Netlify, and Netlify offers a really superb redirect service, I'm able to use their "splats" to hide the AWS URL and make it nice.
It also means should I ever move to a new image hosting provider, and I wanted to keep my screenshots, I can keep supporting these URLs as I have full control of them.
In my _redirects file I include the following line:
/shot/* https://s3.eu-west-2.amazonaws.com/screenshots.remysharp.com/:splat 200
There you go
I think it's pretty neat 😉 https://remysharp.com/shot/SCR-20221128-doc-min.png
