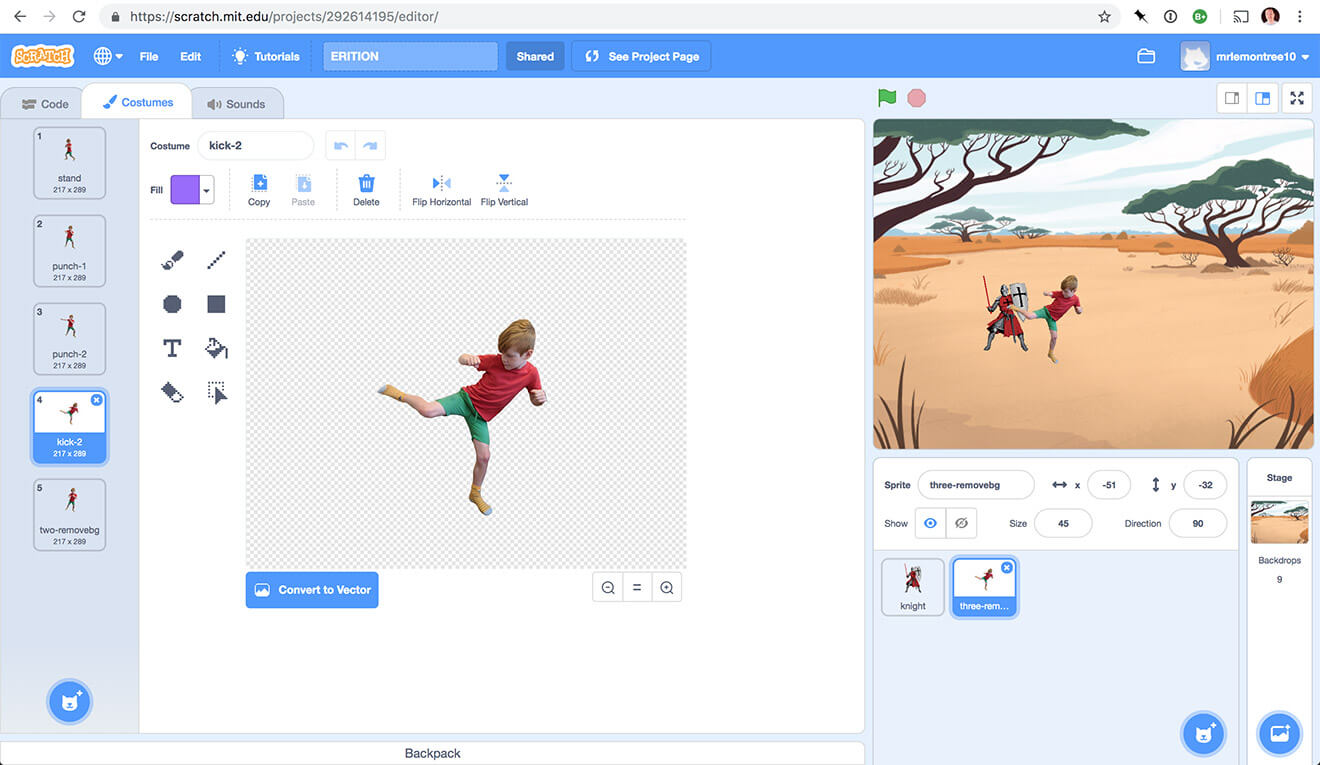
I was asked by a few parent friends how I put my kid in Scratch, so here's my guide to how to put (and animate!) your kid in scratch ala:
MY EBOOK£5 for Working the Command Line
Gain command-line shortcuts and processing techniques, install new tools and diagnose problems, and fully customize your terminal for a better, more powerful workflow.
£5 to own it today
1. Photos
I used my phones camera to capture these pictures. He changed his pose as I took each picture. You should try to find a relatively visually quite surrounding for the picture. Here's the original photos I used:

It also helped that there was contrast between his clothes and the background around him.
Then transfer these pictures to a computer so you can upload them to a site to remove the background.
2. Removing the background of the photo
Visit www.remove.bg in your browser, then one at a time, click "select a photo" and upload the photos you took, then download the newly generated photo.
The site will also handle correctly rotating the image for you:
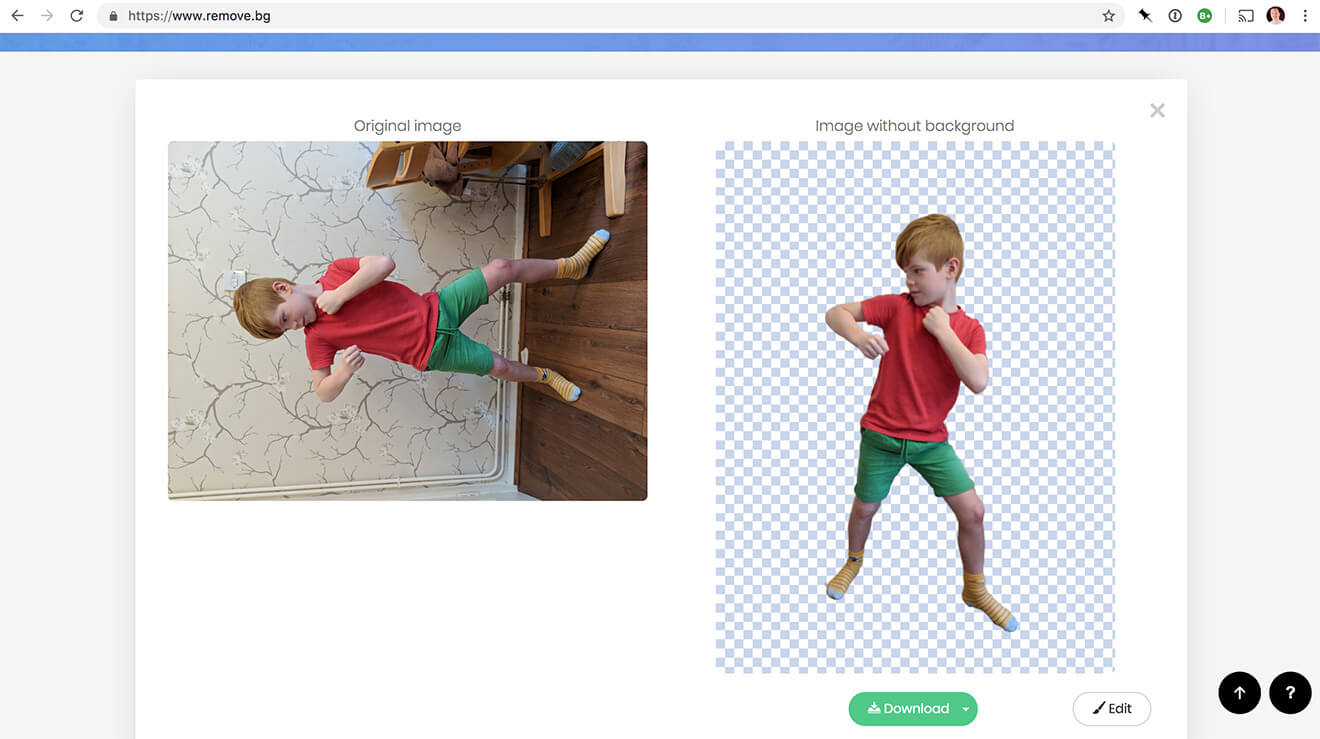
How does it work? Machine Learning commonly known as AI. Using a metric tonne of images that have already been categorised to identify what's the subject and what's the background, this data is then used on new images to distinguish background from foreground.
Note that your photos are not stored on the site's servers and not used for the AI training. More under "Do you use my data to train your AI".
Process each photo then head over to scratch for the last part.
3. Adding to scratch
You're going to create a sprite that has multiple costumes using the images you've created.
3.1. Create a new sprite
From the bottom right, you need to hover over the sprite icon and select "Upload sprite"
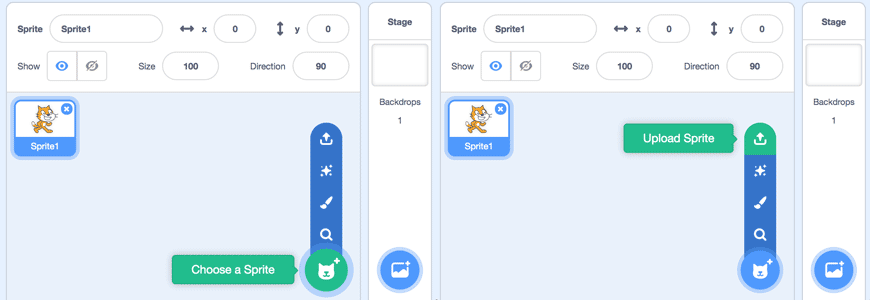
Now select one of the processed photos.
Don't resize the image or reposition it at this point - you're going create the sprite and all it's different "costumes" (the positions your kid is posing) and then you'll be able to re-position and resize the sprite later.
Select the sprite and select the "Costumes" tab (towards the top left of the screen). You should see this:
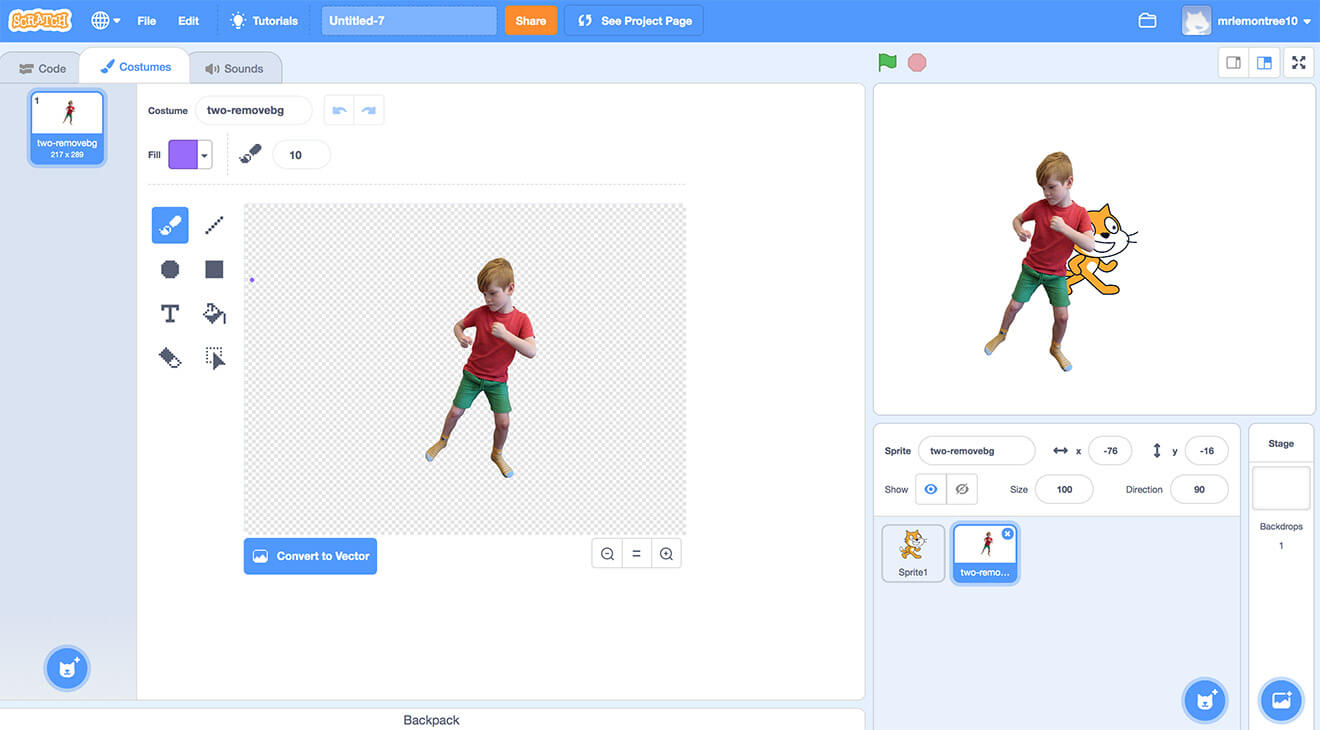
3.2 Adding kid positions
For more poses, you need to create more costumes for the sprite. Hover over the icon in the bottom left and select "Upload Costume" from the menu (second from the top).
Keep uploading each processed photo you took, until you have something like this:
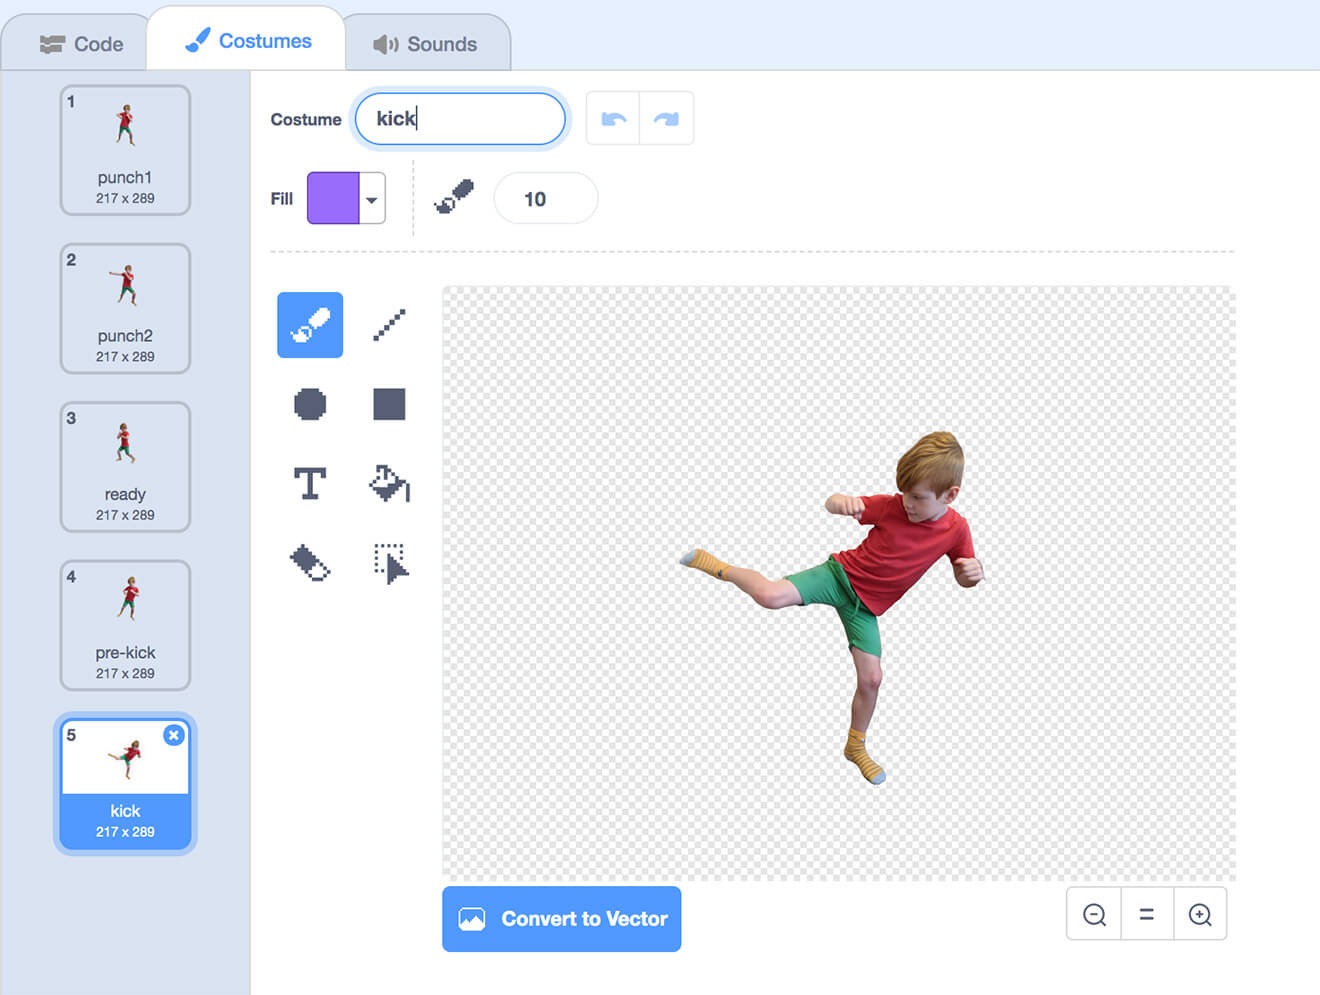
It's also worth giving the costumes a name that's memorable, for instance "kick" or "pre-kick" etc.
3.3 Making the sprite move
Switch over to the "Code" panel, and with your kid's sprite selected, you're going to make the sprite cycle through some costumes when a key is pressed.

These blocks tell the sprite: when the space key is pressed, immediately change to the "pre-kick" costume, then wait 0.1 seconds, then change to "kick" then wait 0.2 seconds, then return to the "ready" costume. The effect is he completes a kick.
- "when [space] is pressed" is found in the Events blocks
- "switch costume to [ … ]" is in the Looks blocks
- "wait [x] seconds" is in the Control blocks
You can also add your own background or other sprites and add more key presses for different events to occur, like jump, or run left or run right, etc.
This final stage is where you can make adjustments to the size and position of the sprite (rather than in the costumes panel). In this case, my kid has been made to be 120% large and rotated slightly.
Have fun!