In the ffconf—the 2016 edition, the day before the site was to be launched, I decided that I wanted to make the navigation sticky.
Part 1 was the deconstructing the original jQuery method down to regular JavaScript. Then I wanted to add scrolling smoothing. Then I realised I'd opened a can of worms.
Components of the problem
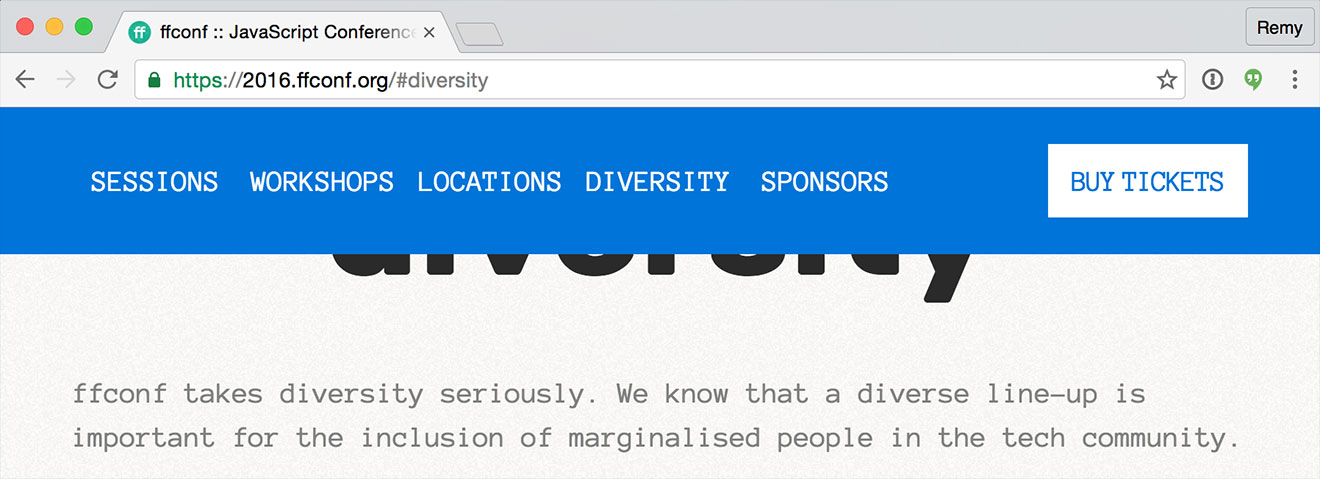
The desired effect was that once I scroll past the navigation, it would stick, and I could click a link and it would smooth scroll to that location.
The video above shows that in action, but you can try it for yourself at 2016.ffconf.org. There's a few distinct problems to solve here:
- A sticky element once it hits the top of the viewport
- Headings that are linked to, need to adjust their position to below the elememnt
- Smooth scroll to each link
- The back button should work
I should also credit Jeremy Keith's post as I only solved (2) with Jeremy's post.
Sticky element
The sticky element was navigation, and had it been sitting at the top of the page it would be simpler, as it would always have position: fixed applied to it. As it was though, my navigation element only becomes sticky at a certain threshold.
I did originally consider if I could use the IntersectionObserver (used in an inverse way), but it didn't fit at all.
The prerequisites to getting a solid and non-janky sticky element are:
- Track the position with
onscroll -> requestAnimationFrame -> calc, specifically, defer the work until rAF fires - Only switch to
position: fixedwhen the element is just about to hit the viewport boundary - Only toggle the sticky state when the element goes in and out of the boundary, i.e. don't keep applying the state
Here's the documented code to track and apply the sticky class to fix the position of the navigation element. Note that I'm applying the sticky class to the body element, I'll explain in a moment.
// get the sticky element with the id of `sticky-header`.
var stickyHeader = document.getElementById('sticky-header');

// then record the current position, so when we cross the
// boundary the `sticky` class can be toggled
var boundary = stickyHeaderRef.offsetHeight;

// when the page scrolls, do as little as possible, in this
// case we're just registering a rAF callback to `checkSticky`
window.onscroll = function (event) {
  requestAnimationFrame(checkSticky);
};

function checkSticky() {
  // collect current scroll position, with a arbitrary amount
  // of inertia.
  var y = window.scrollY + 2;

  // check if the element contains the `sticky` class already
  var isSticky = document.body.classList.contains('sticky');
  if (y > boundary) {
    // if we're in the "sticky" boundary, and it's not already
    // sticky, then apply the class, otherwise do nothing.
    if (!isSticky) {
      document.body.classList.add('sticky');
    }
  } else if (isSticky) {
    // otherwise, we're inside the region *and* the sticky
    // class needs to be removed.
    document.body.classList.remove('sticky');
  }
}
Here is the CSS that accompanies the sticky header:
#sticky-header {
  top: 0;
}

body.sticky {
  padding-top: 100px;
}

body.stick #sticky-header {
  position: fixed;
}
Probably the most important bit is the body.sticky adding 100px to the padding-top. This is because the height of the navigation is also 100px and when it changes from position: static to fixed, it's removed from layout. So to adjust for the loss of the navigation element, I'm pushing the whole of the content down by 100px, which creates a seamless scroll, instead of a jump (as seen in the video below).
Linking to headings
Now that the navigation is sticky, if we click on one of the links inside the navigation the page will jump, but the navigation element is sitting on top of the heading. We don't want this.
To fix this, the targeted element is offset by the height of the navigation element (100px in my case):
:target:before {
  content:' ';
  display: block;
  height: 100px;
}
The CSS above creates a solid block directly before the targeted element, all h2 for my conference site, and pushes them down by enough so that it sets them below the sticky navigation.
One quirk, is that this can be seen when you scroll up manually. Though it's small enough in the scheme of the design that it doesn't warrant addressing.
Smooth scrolling
This is where things get hairy. There's a very good smooth scroll vanilla JavaScript library that I found out about…a month too late. Admittedly though, this combination of requirements means that smooth-scroll would also fall foul.
I decided to write my own, partly because I expected it to be straight forward, and partly because I'm naïve like that. That said, I wanted to use a simply tweening function, but I couldn't work it out, and opted for using Soledad Penadés' tween library (so not entirely vanilla…more neapolitan).
The code follows below with comments to document:
// hook a click event on the body and use event delegation
document.body.addEventListener('click', function (event) {
  var node = event.target;
  var location = window.location;

  // ignore non-links elements being clicked
  if (node.nodeName !== 'A') {
    return;
  }

  // ignore cmd+click etc
  if (event.button !== 0 ||
      event.metaKey ||
      event.ctrlKey ||
      event.shiftKey) {
    return;
  }


  // only hook local URLs to the page
  if (node.origin !== location.origin ||
      node.pathname !== location.pathname) {
    return;
  }

  event.preventDefault();

  // make sure to support the back button…though we'll find
  // this will break later, so we'll come back to this
  window.history.pushState(null, null, node.hash);

  // target is where we're going to scroll *to*
  var target = document.querySelector(node.hash);

  // capture where were are right now
  var fromY = window.scrollY;
  var coords = { x: 0, y: fromY };
  var y = target.offsetTop;
  if (fromY < y) {
    y -= 100; // offset for the padding-top
  }
  var running = true;

  // create a tweening object that we can use in the `scrollTo`
  var tween = new TWEEN.Tween(coords) // where we are
    .to({ x: 0, y: y }, 500) // where we're going
    .easing(TWEEN.Easing.Quadratic.Out) // ease…
    .onUpdate(function () {
      // do the actual scroll
      window.scrollTo(this.x, this.y);
      // if we've reached the end, manually stop
      // rescheduling the update
      if (this.y === y) {
        running = false;
      }
    })
    .start();

  requestAnimationFrame(animate);

  function animate(time) {
    if (running) {
      requestAnimationFrame(animate);
      TWEEN.update(time);
    }
  }
});
This does the trick (and if you're copying my code, you'll need the tween.js library included in your scripts), but I also needed to add the if (running) since I'm starting the rAF call on every click, otherwise the rAF call keeps running and in this instance, it racks up every time I click.
In the final part, I'll throw away all my JavaScript and see how to redo this all with just CSS.